

ADJUSTMENTS
TRIM ANGLE ADJUSTMENT
To help maintain steering stability and good performance, always maintain the proper trim angle as shown in the illustration. The appropriate trim angle varies depending on the combination of the boat, engine, and propeller, as well as operating conditions.
Make a test run in the boat to determine if the trim angle needs to be adjusted. Adjust the trim angle using the Power Trim and Tilt system.
Refer to the POWER TRIM AND TILT section.
If you still cannot achieve good performance, there may be a problem with engine mounting height. Consult your dealer for assistance.

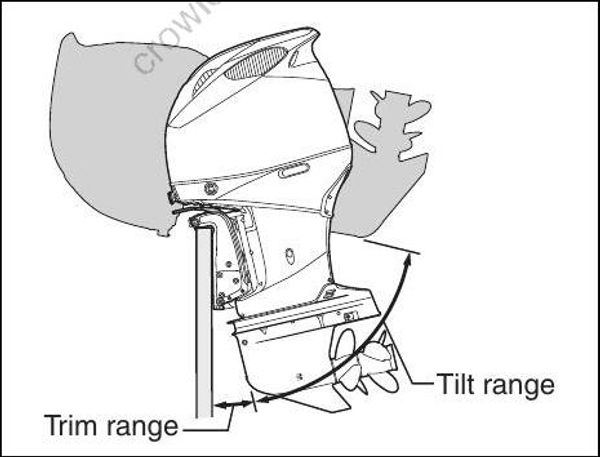
Trim angle greatly affects steering stability. If the trim angle is too small, the boat may “plow” or “bow steer”. If the trim angle is too large, the boat may “chine walk” from side to side or “porpoise” up and down. These conditions, which result in loss of steering control, can cause occupants to be thrown overboard. Always maintain proper trim angle based on the combination of your boat, engine, and propeller, as well as operating conditions.
When the motor is tilted beyond the maximum trim position, the swivel bracket will not have side support from the clamp bracket and the tilt system will be unable to cushion the engine if the lower unit strikes an obstruction. This could lead to occupant injury.
Do not operate the engine above 1500 r/min or operate the boat in a planing attitude with the motor tilted beyond the maximum trim position.
If you operate the boat with the motor trimmed beyond the maximum trim position, the water intake holes may be above the water line, causing severe engine damage due to overheating. Never operate the boat with the motor trimmed beyond the maximum trim position.
CONTROL HANDLE ADJUSTMENT
The control handle friction and control handle detent force can be adjusted to suit operator’s preference. The control handle friction adjustment will change the overall effort to move the control handle. This will help prevent undesired movement of the control handle in rough water conditions. Consult your authorized Suzuki marine dealer to adjust the control handle friction and detent force.

| Type | Adjustable item |
|---|---|
| A | Friction and detent force |
| B | Friction |
IDLE SPEED ADJUSTMENT
The idle speed has been factory adjusted between 550 – 650 r/min. in neutral.
If idle speed cannot be set within the specified range, contact your authorized Suzuki Marine Dealer.
MOTOR COVER FASTENING ADJUSTMENT
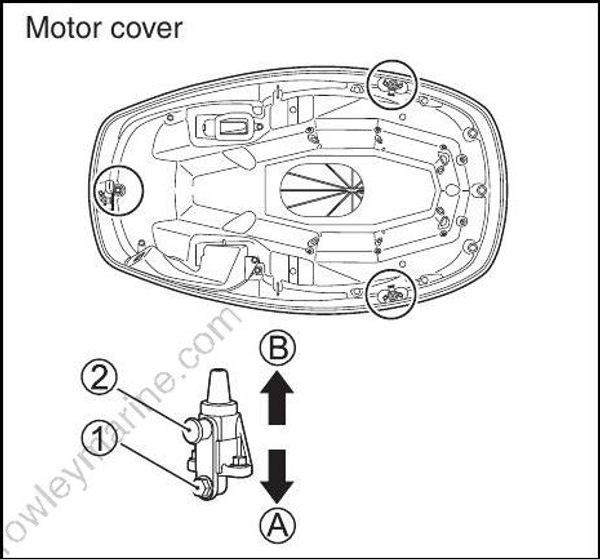
If you feel motor cover fastening is loose or too tight when locking the levers, adjust as follows:
Loosen the bolts (1).
Adjust the position of brackets (2). To increase the fastening, move the brackets to the direction (A). To decrease the fastening, move the brackets to the direction (B).
Tighten the bolts.
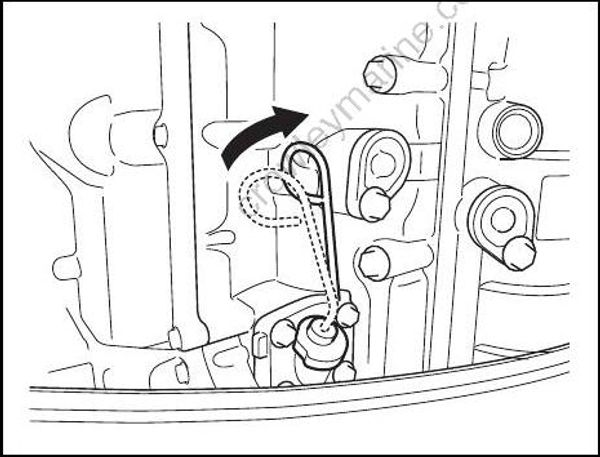
If the oil dipstick knob is not correctly positioned when installing the motor cover, the oil level gauge would be damaged.
When the motor cover is to be attached, make sure that the oil dipstick knob is positioned as shown in the figure.
METER (OPTION) MULTI-FUNCTION GAUGE
This gauge is multifunctional gauge that displays the various information through digital communication with the engine. Information displayed are engine speed, shift position, fuel level, fuel consumption, etc.
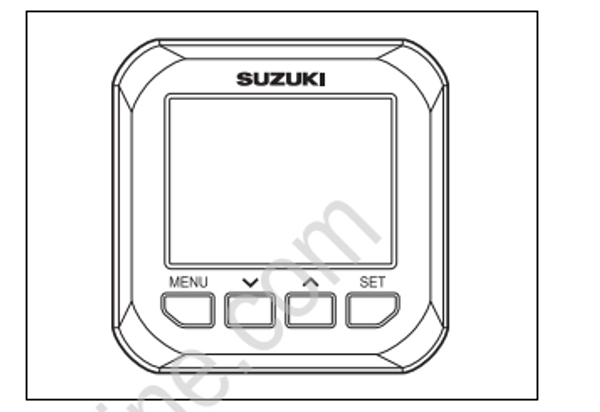
There is information that cannot be displayed depending on the model and equipment.
Consult your authorized Suzuki marine dealer for setting up the multi-function gauge.
For details the proper handling of the multifunction gauge, refer to “OPERATION INSTRUCTION MANUAL” packed in the gauge.
The navigation data on this gauge should be used only for your reference. When exact navigation information is required, use nautical charts and/or accurate navigation instruments together with the multi-function gauge.