TACHOMETER (OPTION)
POWER
Once powered up, the system self-checks by positioning all instrument pointers to maximum, then returning them to zero.
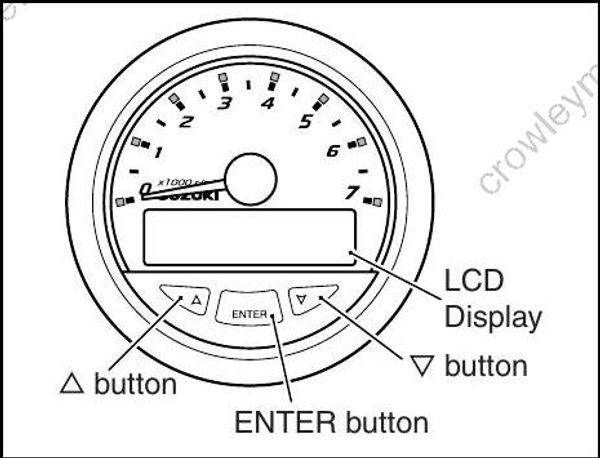
BUTTON “ENTER”, “∆”, “∇”
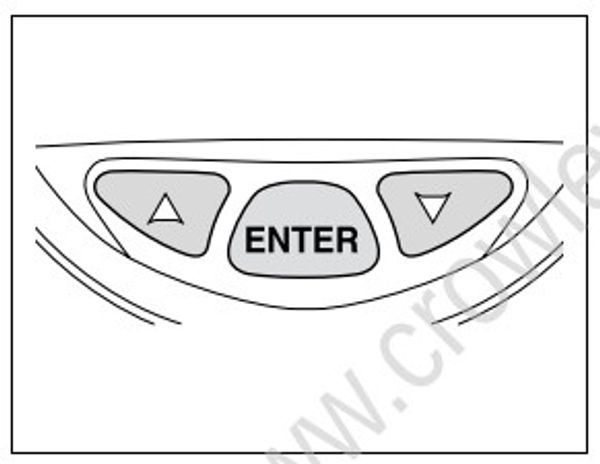
Press ENTER button to access information on gauge LCD screen.
Press and release ENTER button once to view LCD screen data. Provides access to submenus, data entry and alarms.
Press “∆” and “∇” arrow buttons to scroll through menu displays.
Press “∆”/“∇” arrow buttons within a menu to scroll available user settings.
The arrow button scroll rate is one line per second.
If the arrow button is pressed and held for more than five seconds the scroll rate will increase.
EXIT FUNCTION
When an exit screen displays on a sub-menu, press ENTER to exit and return to the previous menu.
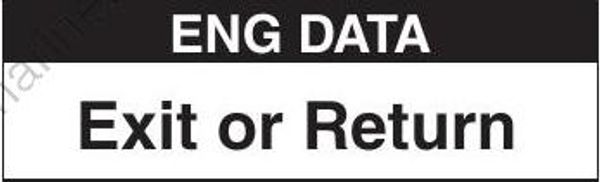
To exit the sub-menu completely, press ENTER and hold for three seconds to return to the main menu.
INSTRUMENT BACKLIGHTING
Each instrument has backlighting for increased low- light visibility. Backlighting can be turned ON or OFF.
Backlighting brightness is also adjustable.
To turn ON/OFF – Press the “∆” and “∇” arrow buttons at the same time.
To adjust – When “Back Light” is displayed on LCD screen, press the “∆” or “∇” arrow buttons to adjust brightness.
Once desired brightness is selected, press the “∆” and “∇” arrow buttons at the same time to turn the backlighting OFF.
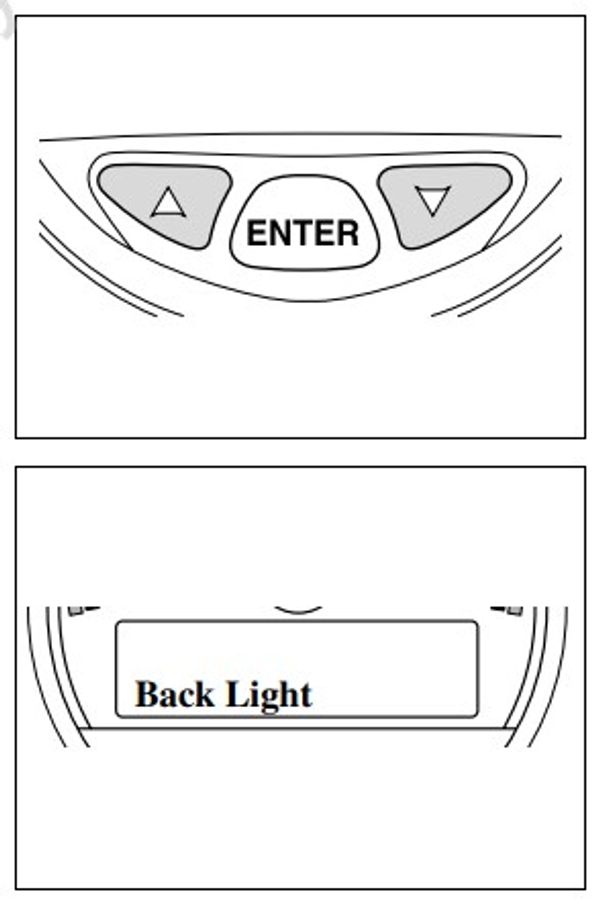
Backlighting adjustments affect the tachometer and all gauges connected to that system. Multiple tachometers require each tachometer and connected gauge system to be adjusted separately.
ALARM
Alarms alert the user of an operating condition that requires action. If an alarm occurs, the LCD screen will display the active alarm screen immediately.
Alarm activation automatically replaces the current data display with the alarm screen display.
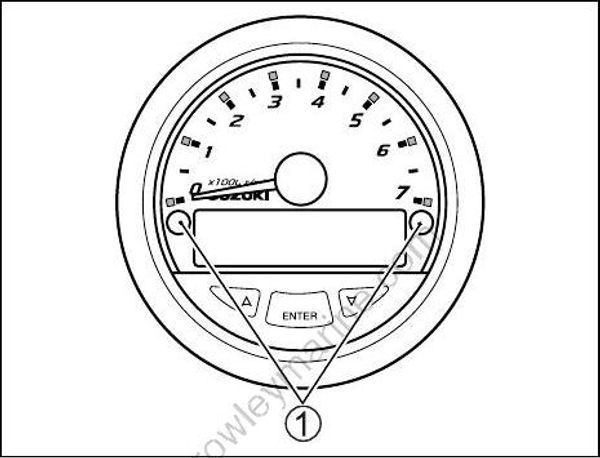
Once active, the alarm screen will toggle between standard and reverse screen color. In addition, two caution LEDs (1) in the tachometer (one on each side of the LCD screen) will illuminate red, and the alarm buzzer will sound.
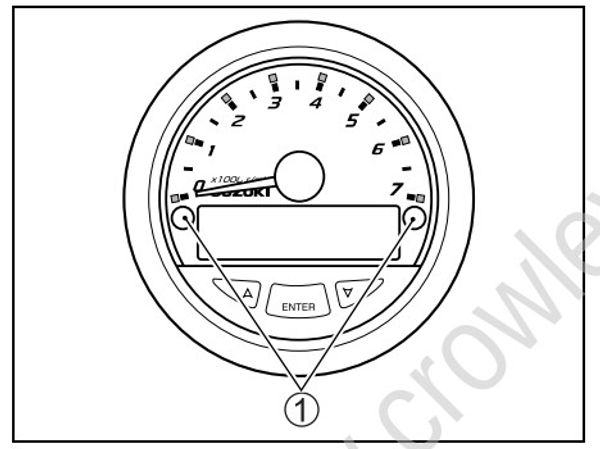
After confirming the display of the alarm, acknowledge the alarm by pressing ENTER on the tachometer. After one alarm is acknowledged, if there is a second alarm, it will also display.
Acknowledge the second alarm (if necessary) by pressing ENTER.
Once all alarms have been acknowledged, the LCD screen will clear.
The caution LEDs will remain illuminated and the alarm buzzer will sound until the operating condition causing the alarm is corrected.
If there is a loss of instrument communications, the pointers of all affected gauges will return to zero.
The LCD screens will show a blank or zero value for data. Monitoring data will not function until instrument communication is corrected.
CAUTION SYSTEM
For details of handling of the tachometer, refer to “SUZUKI MARINE PRECISION CONTROL GAUGES Installation Guide & Operating Manual”.
The caution systems are designed to alert you to certain situations which may cause damage to your outboard motor.
• Do not rely on the Caution System to alert you to any malfunction which may occur or to give you an indication of the need for maintenance. To prevent damage to your outboard motor, it is essential to regularly inspect and maintain it.
• If the Caution System activates while you are operating your outboard motor, stop the motor as soon as possible and correct the problem or consult your authorized Suzuki Marine Dealer for assistance. Continuing to operate the motor with the Caution System activated can result in severe motor damage.
INDICATOR CHECK
Each time the main switch is turned to the “ON” position, the system self-checks by positioning all instrument pointers to maximum, then returning them to zero.
In addition, two caution LEDs (1) in the tachometer (on each side of the LCD screen) will illuminate red, and the alarm buzzer will sound for three seconds.